
To monitor your home and business, the Unifi Security Camera System can be a fantastic option. Unifi Security Camera Systems are made to provide reliable security and monitoring solutions that can be connected to your existing home or even business Wi-Fi network. This specific type of system is ideal for those who want a high-quality security system without the cost and complexity of a hardwired system. In this review, we are going to take a look at how to setup Unifi Security Camera and how to configure the best one.
How to Setup Unifi Security Camera Setup
Unifi Security Cameras are a fantastic way to monitor your property and keep an eye on what’s going on. Setting up Unifi Security Cameras is not difficult and can be done quickly and easily. There are several factors you must consider before setting up a security camera. Please make sure the camera has a good battery and isn’t prone to hacking. It would also be wise to ensure that the camera has a wide angle. This will allow you to keep an eye on everything in your house. This guide will walk you through the steps of setting up your Unifi Security Cameras.
Before starting, you’ll need to make sure you have the following:
- Unifi Security Camera
- Unifi Network Video Recorder (NVR)
- Unifi Network Video Management System (NVMS)
- Ethernet Cable
- Power supply
Step 1: At First, Connect Your NVR to Your Network
The first step in setting up your Unifi Security Camera system is to connect your NVR to your network. Using an Ethernet cable, connect your NVR to your router or switch. If you’re using a switch, make sure the switch is connected to your router.
Step 2: Then, Connect Your Unifi Security Camera
Once the NVR is connected to your network, you’ll need to connect your Unifi Security Camera to the NVR. Using the included Ethernet cable, plug one end into the back of the camera and the other end into the NVR.
Step 3: Now, Install the Unifi Network Video Management System
The Unifi Network Video Management System (NVMS) is the software you’ll use to control and manage your Unifi Security Camera system. To install the NVMS, go to the Unifi website and download the software. Follow the on-screen instructions to install the software.
Step 4: Configure Your Unifi Security Cameras
Once the NVMS is installed, you can begin configuring your Unifi Security Cameras. Using the NVMS, you can adjust the settings of the cameras, such as the resolution, frame rate, and motion detection. You can also use the NVMS to view live footage from your cameras.
Step 5: At Last, Connect the Power Supply
The last step in setting up your Unifi Security Cameras is to connect the power supply. Connect the power supply to the NVR and then plug the power supply into an outlet.
When your Security Cameras are set up, you’ll be able to monitor your property and keep an eye on what’s going on. With the NVMS, you can also configure the cameras to send you alerts when motion is detected.
Ubiquiti Unifi Security Camera: The Best 3 Models
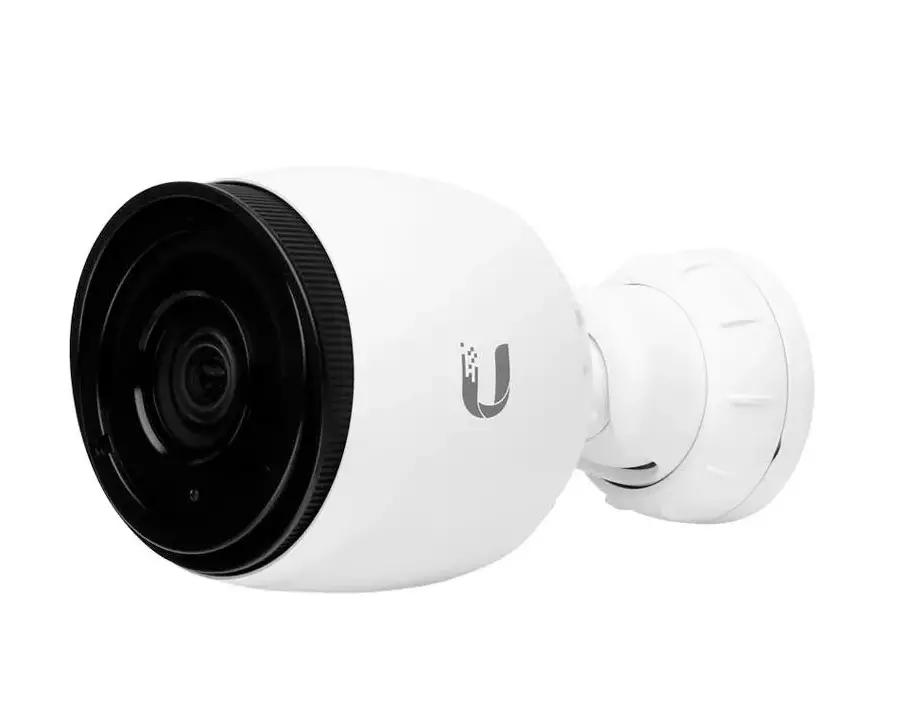
1. G3 Dome
The Ubiquiti UniFi Video Camera G3 Dome is the next generation of the UniFi video surveillance management system. It features a wide-angle lens and 1080p HD resolution.
The dome camera can be installed on a ceiling or wall. It also has infrared LEDs for better night vision. A two-way audio communication system is available.
You can download the app for iOS or Android to access and manage your cameras. This application also includes motion detection, advanced analytics, and storage management.
Using the Unifi Video app, you can configure your camera and set up recording. This software comes free with the camera and includes analytic and advanced features.
UniFi Video is easy to use and allows you to customize your camera settings. You can choose whether to save the recording on your NAS or NAS automatically.
Ubiquiti Networks UVC-G3-PRO Dome Network Camera
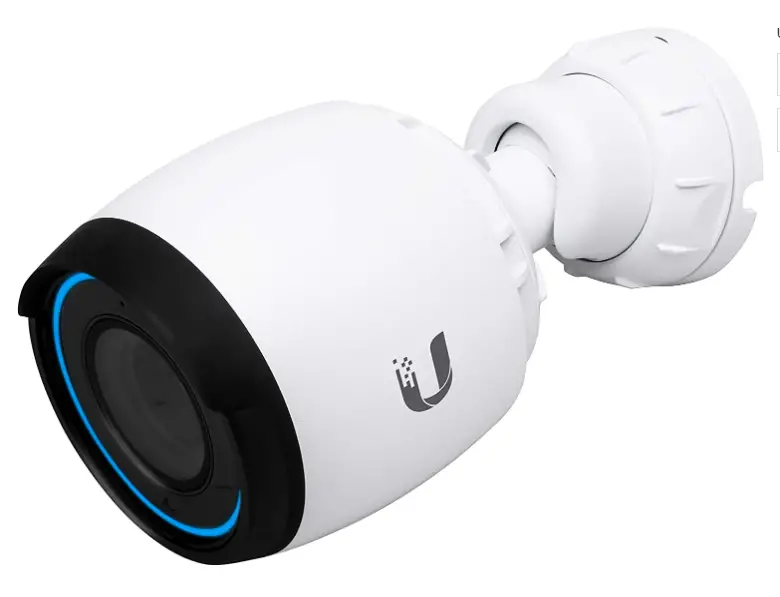
2. G4 Pro
Whether you’re looking for a new security camera or upgrading your existing one, the Ubiquiti G4 Pro offers you:
- A high-end solution. This camera delivers excellent performance with 4K HD resolution,
- 3x optical zoom, and an IP67 rating.
- The device is easy to install and also offers reliable surveillance,
- It is integrated with the UniFi Protect software.
In addition to its impressive features includes:
- The G4 Pro camera is also weatherproof and durable.
- An IP67 rating and high-power infrared LEDs for night vision.
This model has a wide-angle lens and can be mounted on nearly any surface, including:
- Ceilings
- Walls
- Poles
Additionally, its magnetic base allows it to be positioned anywhere, including inside a house.
Besides the camera, Ubiquiti offers a controller that works with the camera. These devices offer advanced functionality, including customizable event recordings, remote access, and hybrid cloud storage.
Ubiquiti, UniFi Protect G4-Bullet Security Camera
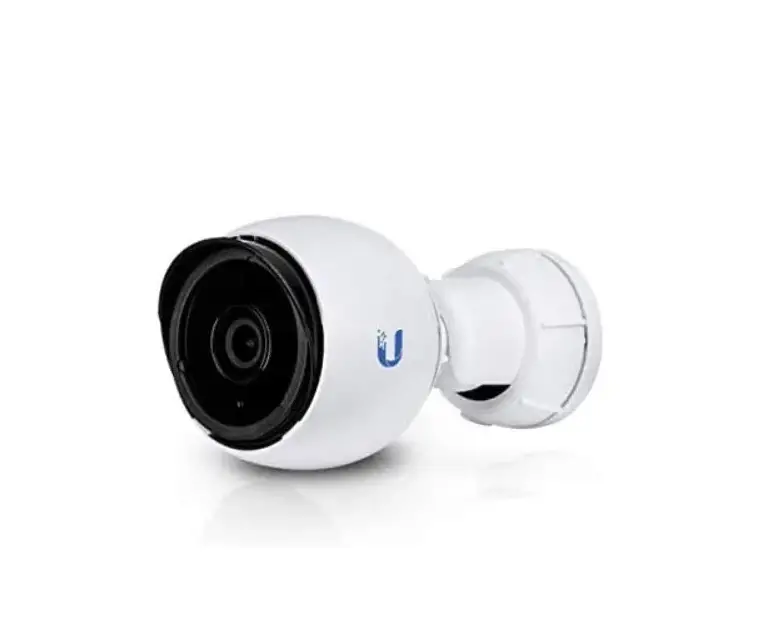
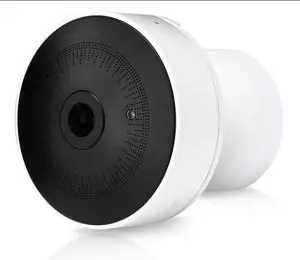
3. G3-Micro
The UniFi Video G3 Micro is one of the smallest cameras on the market. This small-sized gadget offers a range of features, including dual-band wireless, two-way audio, and a 1080p full HD resolution. It also supports various mounting options, from magnetic to adhesive mounting pads, making it a versatile choice for any installation.
The UniFi Video G3 Micro is suitable for building a security camera network. For a reasonable price, it provides all the benefits of the UniFi line without the high maintenance of its larger brethren. It comes with a handy Quick Start Guide to make it even easier to use. In addition, the UniFi Video G3 Micro offers various mounting accessories, including wall mount brackets and flat surface mounts.
Ubiquiti Networks UniFi Video G3-Micro Wireless Camera
Hybrid cloud storage
Ubiquiti UniFi Protect security cameras offer free hybrid cloud storage and a user-friendly setup. These cameras provide secure cloud-based remote access and flexible coverage. They’re an attractive option for networking gear users with no monthly fees and no licensing.
The Unifi Protect Controller allows you to easily set up and configure your UniFi cameras. You can watch live camera streams or download footage to your local hard drive. In addition, you can view motion events on your mobile device. This makes the Ubiquiti device a powerful tool for your surveillance needs.
You can install the Unifi Cloud Key Gen2 Plus to access the video from your camera. It has both a built-in 1 TB hard drive and can be upgraded to 5 TB. Additionally, the unit has a battery and can be configured over Bluetooth as well.
Unifi Protect Cameras: Fight against Hacking and cybernetic attacks
Most of us have heard of hacking and cybernetic attacks on our cherished networks, but if you’re lucky enough to get a peek at the insides of your router or router compartment, you’re in for a treat. The good news is that Ubiquiti is more than willing to help, unlike the aforementioned nefarious operators. They have a few well-thought-out measures in place to ensure the safety of your network and the security of your most valuable assets.
Conclusion
So, in particular, Ubiquiti Secure is the best bet for your home and office. It’s got a few perks to make it a smart choice, including an easy-to-configure security suite, a dedicated admin panel, and support from its savvy staff. Luckily for you, they are also one of the few manufacturers in this arena that actually take the time to sit down with you and help you plan out a security plan that’s right for your home or business.